Friday, April 29, 2016

Fighting the Fungi

Wednesday night my new Goblins and a few Human Barbarians (from my Saga Vikings army) attempted to halt the spread of the fungus.  Paul's Mushrooms enlisted the aid of some Crusaders and were determined to defend their spores.

The terrain is the club's.  The spore pod type things I'm told are melted coke bottles decorated with hot glue.  They are mounted on CDs and look great, so it's a shame not to use them more.

Most of the models were Quality 3 or 4 and combat 3.  Both sides had leaders.  The table was 4x2 rather than 3x3 because I wanted to use a terrain board and that's the size they are.  I'd forgotten my camera and so was reduced to using my phone.

On the left we have three Crusaders, one of which is the leader, then three little fungi and one big one and then the automaton.  On the right we have four barbarians (with the leader to the rear, there is also a juvenile barbarian hiding in the trees), the grasshopper (goblin friend) and then the goblins, five of them with the old dude at the back being their leader.


The fungi kept failing command roles so my guys moved up.

So appalling was their command roles that I was able to get everyone forward.

Of course then it was my turn to throw bad.

Both the barbarians and the goblins were in trouble.

The goblins are fighting back.


Grasshopper down!

This triggered a morale test and the goblins fled, most hacked down before they could escape.  Disaster!

However the remaining barbarians staged a come back.

And back they did come.

Things were going well (or rather better than could be expected) until this fungi inflicted a gruesome kill and the barbarian leader and the juvenile took this as a sign to make a run for it.

They ran.

Fungi triumphant!


Thursday, April 21, 2016

Early Macedonian Successor versus Indian

In what proved to be a challenging and exciting battle, my Greeks, with help from Commanders Mark B and Stephen N, took on Dave B's Indians assisted by Geoff.  As it was a busy club night I didn't take as many pictures as I would have liked, but I did take some.

Things got off to a bad start on turn one when the Greek left flank commander rolled a double one for activation and was downgraded to poor.  It then got worse when the second group move of heavy foot in that command became disordered.  The Indians focussed on the left flank cavalry, successfully shooting it to bits.

Right flank (me) and I was denied the terrain I wanted for my Thracians.  

We pushed forward anyway

Back on the left the Greek light cavalry is trying to shield the Greek medium cavalry, but it all ended in tears.

Like wise on the right, the Thracians couldn't win a trick.  However the centre had come into contact.

Things get interesting on the left.  Very interesting.  There was a lot of flank fighting and the Greeks just managed to hold their own.  Well done Stephen!

As my command was wiped out I did the noble thing and charged in, but it provided ineffectually (you get the hits only to have the opponent roll a one for their cohesion test). 

Ancient Greece

I've been interested in ancient Greece since I was a preteen and read a book about Greek Gods and Heroes and used to watch the sword and sandal epic movies and the Hercules cartoon show.  It was an impulse borrow when I picked up this book in my local library.


This book is really just to provide a taste of subject and served as a good refresher of the richness of the ancient Greek world.  In my subsequent Googling for a reference to link to I notice it was described as juvenile non-fiction.  Fair enough.

I enjoyed it and it reminds me I must read more on the subject, especially the Successors in an attempt to get motivated about my army.


I've still got more hoplite figures to paint.  Nothing like a bit of inspiration for shield designs.


Monday, April 18, 2016

Vimeiro - Take Two - More Research

I have now worked out the points of the two armies.  The French with all their commanders, cavalry and artillery come in at 275.  If you remove the artillery it is 231 and without the cavalry it is 197.  The Allies are 192 points.  If you remove their cavalry the points come down to 186.

An excellent post was made in the Yahoo Group by Charles MacKay and can be found here: https://groups.yahoo.com/neo/groups/napsbattles/conversations/messages/18471

Something from this post which would have impacted my previous game is this: "The archival and published French memoirs, the best by Junot’s chief of staff Paul Theibault, all mentioned the nearly impassible terrain on the western side of the ravine called the Toledo Creek or River. It, too, was dry but it was the combination of thick briars and thickets with the steep slopes that made an attack between Vimeiro and Ventosa almost impossible."

So, the creek running from the village of Vimeiro to the village of Toledo should be considered impassable.

From this article, http://www.napoleon-series.org/military/virtual/c_vimeiro.html, I found a start time for the action: "The battle began about 9:00 a.m. when General Junot sent Charlot's and Thomière's Brigades, along with seven guns, to attack the British on the ridgeline near Vimeiro."

So my second game was to look at the timings to get this to occur.

I also adjusted the Allied deployment to fit in with the excellent map on the Napoleon Series web site (http://www.napoleon-series.org/images/military/maps/peninsula/vimeiro.jpg).  If you look closely it gives the starting positions and the subsequent redeployments by Wellesley.

Allied deployment, brigades from their left to right Fane (16BrLT) and Anstruther (20BrLN) in line on Vimeiro hill with the 20th LD behind them (and who don't really fit and are possibly best left out as they will only get in the way); Trant (16PtLN) is in the village of Maceira (occupying, but not deployed); Ferguson (20BrLN), Bowes (16BrLN), Nightingale (12BrLN), Acland (12BrLN), Craufurd (16BrLN) and Hill (20BrLN).

The original Blue Book scenario has the game starting at 7:30 but I now consider that to be the time Junot left "a small village 5km to the south of Vimeiro" as this allows Brenier's outflanking force to peel off taking the right fork in the road and Thomiere (the rest of Delaborde's division) to lead the main French body (Loison's division) onto the field at 8:00.  Kellerman and the remaining cavalry enter at 8:30 on the next road along while Brenier enters at 8:00 (although see later comment).

An 18" march move will get the French just before the Vimeiro Hills.

Turn 2 (8:30) and Thomiers and Charlot have deployed (using my rule variation that allows a unit in march column to nominate a base and change its orientation (facing) for the unit to position itself around.  Solignac's brigade has moved up and Kellerman and the remaining cavalry is also on the battlefield while Brenier has commenced the outflanking move.  Interestingly the first part of Brenier's march is shielded from the allies by the terrain, but it created a lot of dust so Wellesley knew what was happening.

Thomier attacks at 9:00.  Junot has deployed Soliganc, but is eager for Brenier to arrive.  The outflanking force has now reached Ameira Grande (I'm tempted to make this the entry point for this force)

The French fail to make an impression on the Rifles (this time round no long range fire casualties occurred to either side)

9:30 and Charlot attacks with more success.  Previous French fire has disordered Anstruther who is forced to withdraw from the close combat, suffering heavy losses in the process.  I probably need to provide free rolls. 

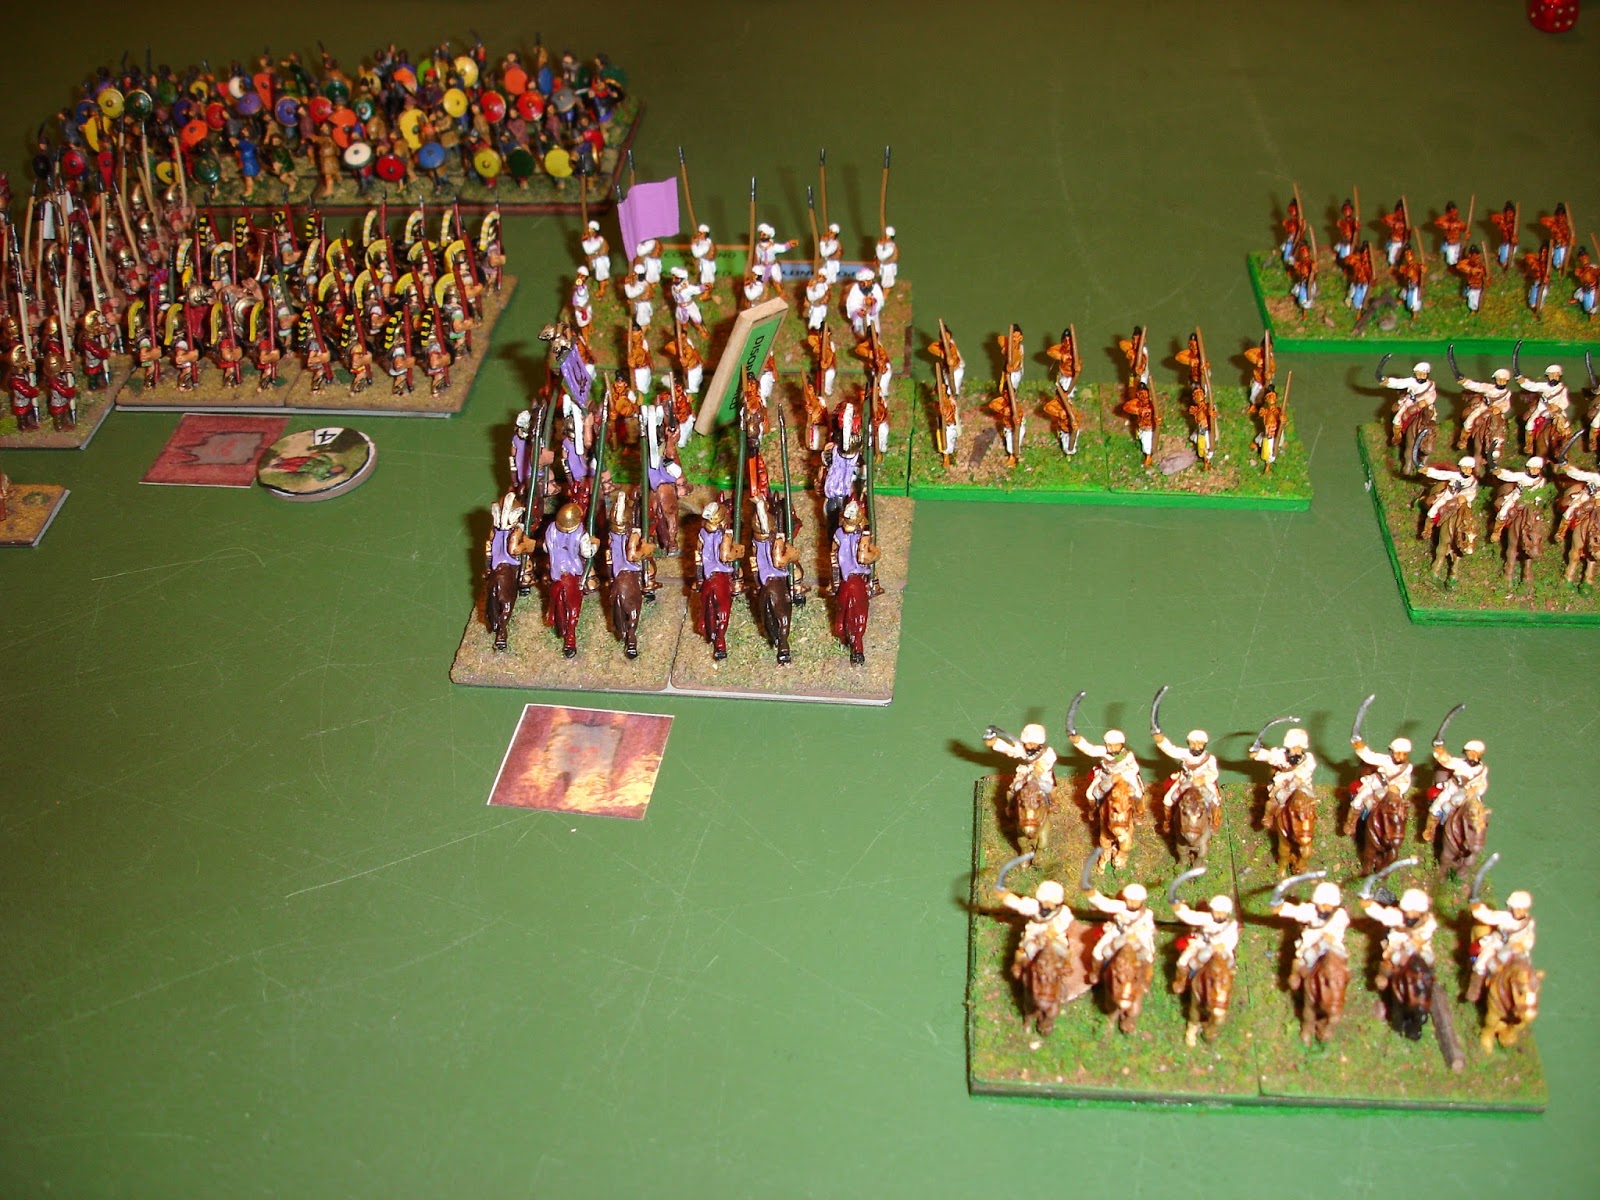
End of the 9:30 term (I want to make a reference here about the level of Junot's intoxication to explain this picture being out of focus).

10:00 and Kellerman is about to attack.  Junot has decided to get Solignac back into march column and send him off to find Brenier.  Charlot on Vimeiro Hill pours fire into Anstruther's brigade that has managed to rally, inflicting the necessary casualties to cause it to disperse.  (It started 20 strong, took 2 in fire combat prior to close combat, took 1 in close combat and then 5 withdrawing, took 2 the next fire combat phase and then another 2 and that was it...  Very unlucky as it had bonuses for being in line and fired at by column and then when in Vimeiro it counted as being in cover, although it wasn't deployed).  That disaster balanced out Kellerman's rout and death...

At this stage I'd learnt enough and I also hadn't been moving the Allies so I called it quits.

It is a tough call trying to force oneself to do what Junot did historically.

Rule variation or interpretation.  


As both the French and the allies have to make some formation changes (respectively: out of march column and from line into column so they can redeploy) in what is difficult terrain I felt some more flexibility was required.  I've covered these in my earlier post, but added a bit more as well.

Changing formation in rough terrain into line causes disorder, but not into other formations.

I also continued the new optional rule for fire combat between line and column formations.

Fire modifier for infantry in column firing at infantry unit in line is a -1.

Fire modifier for infantry in line firing at infantry in column is a +1.

Nothing radical there, but more interesting could be allowing infantry in line to fire out of both arcs.  Also allow an infantry unit  to fire if disordered, but with a -3.  It gets tricky when you then consider whether this should apply to artillery and also in various situations, such as firing on the flank.

I would also give each side 4 free rolls, one for each four turn segment or part there of plus one for being good commanders.

Another thing to try is not to have the Allied cavalry, but allow them to convert the first French withdrawal into a rout, assuming that a French unit has not already routed.  

Some further research now has me thinking I have too much French infantry.  Removing the 58th and 70th units gives a much better match up with Oman's figures as given in the Osprey books (rather than the July figures I was using).  It also makes it very much more a brigade level game.

Conclusion

While I need to bring all this material into one scenario listing, I now have enough to feel confident to inflict it on my fellow gamers.


Friday, April 15, 2016

Aliens in my appliances

Today I found a very disturbing thing: I had aliens in my appliances.

I fear they are looking for somewhere warm to nest.

I looked for the source of the infestation.

As you can see they are coming from the Internet.

I had a solution.

Zap!

I've had these figures for at least ten years.  I think I painted them up as soon as I got them as they didn't require much work... Wrong.  Their bases were such that they easily toppled over.  But now I have based them on washers and built it up with plaster and tried a bit of sculpting to extend the original base design.  All finished.  Challenge will be to use them in a game.

As with the goblins, I don't know the manufacturer of these figures.  However a Google search found this site:  Stuff of Legends.  They have an image of these figures under "Alien Warriors #1" and attribute them to Leading Edge Designs with the sculptor being Bob Ridolfi with production date as "before 1994 to 1996" (whatever that might mean - I can't recall when or where I got them). It looks like there was quiet a range tying in with the second movie: 

Thursday, April 14, 2016

More Prussian infantry reach the green fields of opportunity

All most finished rebasing my impulse purchase from last year.


Apart from repairing a few paint chips, the only work I did on these was the flesh wash and a wash on the grey paints and coat roll.

Saturday, April 9, 2016

Vimeiro - Take One - The Game

The game commences with the 7:30 turn and ends with the 12:00 turn - ten turns in total.  This timeframe was taken direct from the original Blue Book scenario.  Please see previous post for deployment and other aspects of the set up.

As it was a solo game and all the figures were mine with enough variety I was able to go without labels.  

End of the 7:30 turn and the French have arrived.  Brenner's out flanking force can be seen in the top right.  Maybe I had given them too much of a head start?

The Allied 7:30 turn and Wellesley reacts by moving troops from the western ridge. My first challenge was that the troops had to cross impassable terrain.  I ruled this was okay if they were in manoeuvre (column) and following a road.

By the end of the 8:00 turn the French have lead units within striking distance of the British deployed before Vimeiro village and Brenier has made good progress and is approaching Ventosa farm.  However Wellesley's reserve has reached his flank.  Both of this forces are out of command (basically only a 30% chance of  getting a half move).

Solignac's Brigade attacks Fane's brigade while the rest of Loison's division exchanges long range fire with Anstruher's.  The French are disordered by the long range fire and their attack meets with disaster suffering four losses and routing.

The British rifles (Fane) had considered pulling back to take benefit from their longer range, but failed their command roll (and as it was did take casualties from French fire).  Both British brigades are benefiting from being deployed even though the rough terrain doesn't provide cover..

The outflanking moves.  Wellesley has another two brigades almost in position to block the French.

9:00 and Loison is busy rallying his division after its repulse.

Brenier deploys (using my rule variation for march columns being in command in the turn they come out of march column).  The British and Portuguese also deploy.  
A good view of the total battle can be seen in this picture.

9:30 Kellerman attacks.  The British rout before it comes to close combat.  The French luck finally comes good and this counts with four units firing on the British.

By the end of the 9:30 turn the French are in a good position against the village of Vimeiro, seen here occupied by Acland's brigade.  The Rifles have rallied (love that rule in the new edition of the rules for self rallying, however I play it without penalty).

However Brenier's attack has become disjointed.  His cavalry can't engage because of the rough terrain and he's facing enemy on two sides.

10:00 and Loison and Kellerman both launch attacks.  Loison routs Anstruther but is disordered as he follows up into rough terrain.  Kellerman forces Ferguson to retire.

Brenier's lead unit comes under heavy fire.

Top down view of Loison's and Kellerman's attacks.  They were lucky, but only needed moderate luck as both of the British units were disordered.

The view from the French side at the end of 10:00.  Brenier's lead unit has routed.  This is somewhat of a blessing as this allowed it to rejoin the main body of French.

The end of the 10:00 turn from the British side.

10:30 and the French have pulled back to reposition for their next attack at Vimeiro village.  Brenier has also started to pullback.  The British maintain a steady long range fire which continues to inflict casualties.

11:00 and Kellerman launches an attack on the village.  The Grenadiers suffer losses on the way in and in the first round of combat, but in the second round they succeed in disordering Acland so that his brigade is forced to withdraw and suffers more losses causing it to disperse.  Things get worse for Wellesley as Fane's brigade is also dispersed (from long range fire).

Hill and Anstruther counterattack driving Kellerman from the village.  Hill was repulsed, but Anstruther was able to occupy the village (as Kellerman had to withdraw because he was disordered do to previously occupying the village after combat).

End of the 11:00 turn.  The forces are starting to thin down.  Wellesley might have sent too many troops after Brenier as he now finds his front around Vimeiro is weak compared to what the French can now muster against it.  .  

11:30 and Charlot's brigade of Loison's Division attacks Hill who is forced to withdraw taking heavy casualties (which reminds me why I previously didn't like the withdraw rule, however I find it works well now that I understand it).

The end of the 11:30 turn.  The British still hold Vimeiro.  It is turning into a very hot day.  Do the French have the ability to make a final attack?

Yes.

The end of the 12:00 turn and end of the game.  Casualties have been very heavy with a number of units dispersing due to long range fire alone (maybe the French did have their artillery with them after all)

Junot makes his way to the tavern in Vimeiro for a well deserved drink.  Wellesley has his work cut out for him to retreat to Porto Novo to hand over his command to Burrard and board ship back to Ireland or India never to return to the Peninsula which, with Burrard's subsequent surrender to Junot leads to a whole different outcome to the Peninsula War.

I was amazed at the outcome as I thought the French  were doomed.  This was a very exciting game with plenty of see-saw action.  Cavalry and artillery is best left out and the whole of the terrain could just about be considered rough.  Command control of any flank marches is critical, in fact, I would say, if a flank march or reaction to one will put troops out of command, don't    You can get away with it with corps, but divisions or smaller sized forces are a challenge although possibly cavalry can get away with it,.